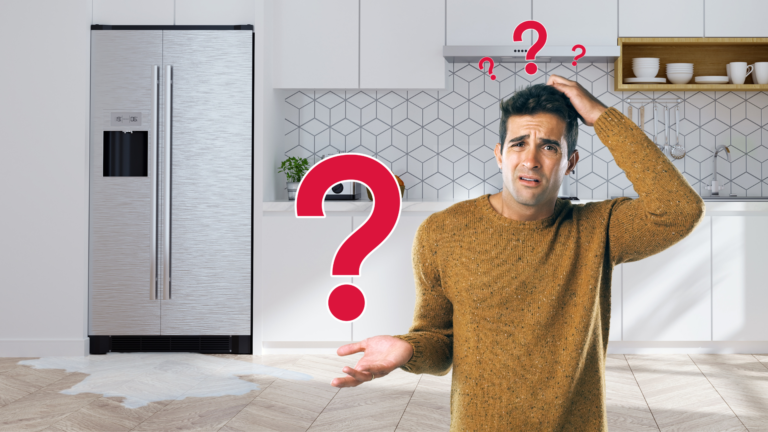
A puddle of water around your laundry appliance is never a welcome sight. Beyond the immediate mess, a leaking washing machine can lead to flooring damage and mold growth if left unaddressed. Fortunately, many common washing machine leaks stem from minor issues that you can diagnose and fix yourself without calling in an expensive repair technician.
Here is a practical, step-by-step guide to finding the source of the leak and getting your laundry room back in order.
Step 1: Safety First
Before you begin inspecting or touching any components of your washing machine:
- Unplug the machine from the electrical outlet to eliminate any risk of shock.
- Turn off the water supply valves located on the wall behind the machine to prevent additional water from spilling during your inspection.
- Pull the machine forward carefully (if possible) so you can access all sides, and grab a few old towels or a wet/dry vacuum to clean up standing water.
Step 2: Inspect the Water Inlet Hoses
Faulty or worn-out water supply hoses are among the most frequent culprits behind sudden washing machine leaks. Taking a few minutes to carefully examine these lines can save you from costly water damage, ruined flooring, and emergency plumbing repairs in your laundry room.
Check the Connections
Locate where your hot and cold-water supply lines attach to both the rear of the washer and the wall spigots. Use pliers to gently tighten any loose fittings, but take care not to overtighten and strip the delicate metal threads.
Examine the Hoses
Carefully run your hands along the length of each rubber supply line to check for cracks, bulges, soft spots, or brittle areas. If you notice any signs of physical wear or structural weakness, replace the damaged hose immediately before it bursts.
Pro Tip
Rubber supply lines degrade under constant water pressure over time. Upgrade your laundry setup by replacing standard lines with durable steel-braided hoses, which provide superior burst resistance and long-lasting protection against unexpected leaks.
Step 3: Check the Drain Hose and Standpipe
If water pools during or right after the spin cycle, the issue often stems from drainage. Inspecting both the drain hose and the household standpipe helps ensure wastewater flows smoothly away from your appliance instead of overflowing onto your laundry room floor.
Inspect the Drain Hose Connection
Ensure your drain hose is securely fastened inside the standpipe or utility sink. If the hose has slipped out or shifted, discharged water will spill everywhere. Also, verify that the hose is not pushed down too far, which can cause siphoning issues.
Look for Clogs
A blocked drain pipe or a tightly kinked hose causes wastewater to back up and spill over. Straighten any sharp bends in the line, check for trapped lint or debris, and snake the standpipe if necessary to restore proper drainage flow.
Step 4: Examine the Door Seal (Front-Load Washers)
Front-loading washers rely heavily on a flexible rubber gasket to keep water inside the drum. Over time, this seal can trap moisture, accumulate residue, or develop microscopic tears, making it a frequent source of frustrating leaks around the front door of your appliance.
Inspect for Tears and Debris
Open the appliance door and gently peel back the folds of the rubber gasket. Carefully check for small punctures, rips, or embedded foreign objects. Also, look for hair, coins, and a slimy buildup of soap scum that might prevent the door from sealing completely.
Clean the Seal
Wipe down the entire rubber gasket thoroughly using a damp cloth and a mild detergent solution. Regular cleaning removes mold, mildew, and residue. If you discover a deep crack or a significant tear during your inspection, you will need to replace the gasket entirely.
Step 5: Check Internal Components (Tub, Pump, and Leaks from Below)
If external hoses and seals appear completely dry, your leak likely originates from an internal part. Inspecting these hidden elements requires removing the appliance access panel, allowing you to pinpoint internal plumbing failures, loose clamps, or failing mechanical seals causing puddles underneath.
Water Pump
The internal water pump forces wastewater out of your appliance during cycles. If a stray coin or small debris punctures the housing, or if a hose clamp loosens over time, water will leak directly onto the floor beneath the machine during the drainage phase.
Tub or Tub Seal
Regularly overloading your washer strains outer drum bearings and waterproof seals. If you notice a loud roaring sound during spin cycles alongside a puddle under the center of the appliance, the main tub seal has likely worn out and requires professional replacement.
When to Call a Professional?
While troubleshooting DIY fixes can save you time and money, some issues require expert intervention. Call a certified appliance repair technician if:
- The machine has an electrical or control board malfunction.
- The main wash tub is cracked.
- You have replaced hoses and seals, but the machine continues to leak persistently.
Conclusion
Dealing with a leaking washing machine does not have to be an overwhelming ordeal. By systematically checking your water supply hoses, drain connections, door seals, and internal components, you can quickly identify the source of the issue. Routine maintenance and timely part replacements will protect your floors from water damage, extend your appliance’s lifespan, and keep your laundry room running smoothly for years to come.