A dishwasher is often the unsung hero of the kitchen, saving you hours of manual labor every week. However, many homeowners wait until they notice a foul odor or standing water at the bottom of the tub before giving their appliance any attention.
If you want your dishwasher to last 10–12 years—or even longer—preventative maintenance is the key. Follow this comprehensive guide to keep your machine running at peak efficiency.
The Weekly Habit: Clean the Filter
Maintaining a clean filter is the foundation of dishwasher longevity. Modern units rely on manual filters to trap food particles and prevent them from recirculating onto your “clean” dishes. When debris builds up, it restricts water flow and forces the pump to work harder, leading to premature motor wear. By making this a weekly habit, you ensure maximum drainage efficiency, eliminate foul odors, and guarantee a spotless, hygienic finish every single time.
How to Do It?
Start by removing the bottom rack to access the tub floor. Twist the cylindrical filter counterclockwise to unlock and lift it out. Rinse the mesh under warm running water to clear away grease and trapped debris. For stubborn buildup, use a soft-bristled brush and mild dish soap. Ensure the housing area is clear before snapping the filter back into place.
Pro Tip
If your glassware feels “gritty” or has cloudy spots, your filter is likely clogged. Check the mesh for tiny holes or tears; a damaged filter allows debris to bypass the system, which can eventually damage the internal spray arm nozzles.
The Monthly Deep Clean: Vinegar & Baking Soda
Over time, grease, soap scum, and mineral deposits from hard water accumulate on the interior walls and heating elements. This buildup forces your dishwasher to work harder and less efficiently. A monthly deep clean using natural agents like vinegar and baking soda effectively breaks down these stubborn residues. This simple routine sanitizes the tub, clears internal piping, and ensures your appliance maintains peak performance while extending its overall lifespan significantly.
Step 1
Place a dishwasher-safe bowl filled with two cups of white vinegar on the top rack of your empty machine. Run a full cycle using the hottest water setting. The vinegar’s acidity works to dissolve mineral scale, cut through heavy grease, and strip away detergent buildup from the spray arms and sensors, leaving the interior sanitized and remarkably bright.
Step 2
Once the first cycle finishes, sprinkle one cup of baking soda evenly across the bottom of the dishwasher tub. Run a short, high-temperature cycle to rinse away any remaining acidity. This step acts as a powerful deodorizer, lifting surface stains and neutralizing lingering odors, ensuring your unit smells fresh and remains free of mold or mildew growth.
Clear the Spray Arms
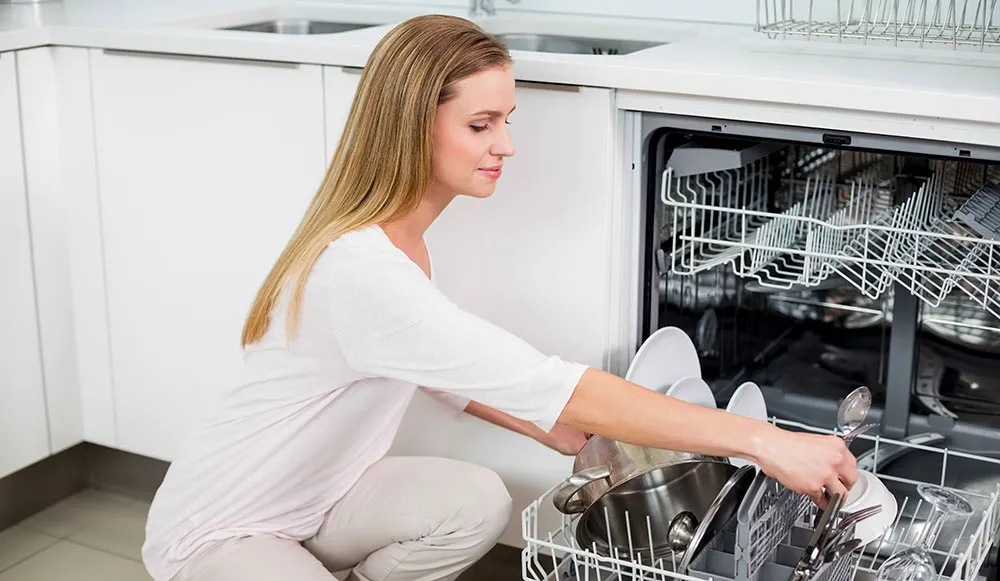
Over time, tiny food particles, seeds, or mineral deposits can become lodged in the small nozzles of your dishwasher’s spray arms. When these openings are blocked, water pressure drops, and certain sections of your machine won’t receive proper coverage. This results in inconsistent cleaning and forces the pump to work harder. Regularly clearing these arms ensures that water reaches every corner, maintaining high-pressure performance and preventing motor strain.
Maintenance
To maintain the spray arms, remove them from the unit—most models allow them to pop or unscrew easily. Use a toothpick or a small wire to gently poke through each nozzle, dislodging any trapped debris or limescale. Rinse the arms under a faucet to ensure water flows freely through all holes before snapping them back into their original position.
Inspect the Door Gasket
The door gasket is the essential rubber seal that creates a watertight barrier between your dishwasher and your kitchen floor. Over time, this seal can collect food debris, detergent residue, and mold, which eventually causes the rubber to become brittle or misshapen. A compromised gasket leads to leaks and potential water damage to your cabinetry. Regularly inspecting this component ensures it remains flexible and maintains the airtight suction necessary for efficiency.
Action
Clean the gasket monthly by wiping it down with a soft, damp cloth and a mixture of mild soap and warm water. Pay close attention to the bottom corners where debris tends to settle. Avoid using abrasive cleaners that could crack the rubber. If you notice any permanent tears or brittle sections, replace the seal immediately to prevent costly leaks.
Smart Loading & Usage Habits
Optimizing how you use your dishwasher is just as critical as physical cleaning. Proper loading ensures that water and detergent circulate freely, reaching every surface for a thorough sanitize. Adopting smart habits reduces the need for repeat cycles, saving water and electricity while minimizing mechanical wear. By following manufacturer guidelines for dish placement and cycle selection, you maximize the efficiency of each wash and protect your appliance from unnecessary stress.
Scrape, Don’t Rinse
Modern dishwashers and detergents are designed to tackle food residue directly. Simply scrape large food scraps into the bin instead of pre-rinsing every plate in the sink. Leaving a small amount of residue actually helps the enzymes in the detergent work more effectively. This habit saves gallons of water annually and prevents the sensors from “under-cleaning” the load.
Run the Hot Water
Before starting your cycle, run the kitchen faucet until the water feels hot to the touch. This simple trick ensures the dishwasher begins its first fill with heated water rather than the cold water trapped in the pipes. Hot water is essential for properly dissolving detergent and melting away grease, reducing the energy required for the internal heater to reach temperature.
Avoid Overloading
While it is tempting to pack every last dish into a single load, overcrowding prevents water from reaching all items. When dishes overlap, “shadow zones” are created where food remains trapped. Overloading also puts extra weight on the racks and can block the spray arms from rotating freely, leading to poor results and potential damage to the motor.
Signs You Need a Professional
While regular maintenance can solve 90% of issues, keep an eye out for these “red flags”:
Persistent Leaking
If you notice water pooling around the base despite cleaning the gasket, you may have a more serious issue. Leaks can stem from a faulty water inlet valve, a cracked wash arm, or even a failing pump seal. Addressing persistent leaks immediately is vital to prevent expensive water damage to your kitchen flooring and avoid electrical shorts within the machine.
Strange Noises
A healthy dishwasher should run with a consistent hum. If you hear unusual grinding, thumping, or high-pitched squealing, something is wrong. These sounds often indicate a foreign object is stuck in the chopper blade, a pump is failing, or the motor bearings are worn out. Investigating these noises early can prevent a complete mechanical breakdown and costly motor replacement.
Standing Water
Finding a pool of water at the bottom of the tub after a cycle indicates a drainage failure. This is often caused by a clogged drain hose, a blocked check valve, or a malfunctioning drain pump. If clearing the filter doesn’t resolve the issue, professional service may be required to clear the internal lines and restore proper sanitary flow.
Final Thoughts
By spending just 10 minutes a month on these simple tasks, you aren’t just getting cleaner dishes—you’re protecting a major household investment. A well-maintained dishwasher is quieter, more energy-efficient, and far less likely to surprise you with a mid-week breakdown.